PetaLinux is theoretically the quickest way to get Linux running on a Zynq chip, as it’s the build system officially provided by Xilinx.
They don’t consider it a distro in and of itself. What Xilinx provides is basically:
- The PetaLinux build tools which leverage Yocto under the hood to produce a Linux boot image with drivers targeting Xilinx chips and other Xilinx-specific configuration
- A board support package (BSP) for each of the official dev boards which includes a base FPGA design and device tree corresponding to the board and chip features which the PetaLinux tools can look at in order to configure the Yocto build
The one small hiccup here is that a BSP is no longer provided for the Zedboard, which means Xilinx wants us to use older versions of the tools where it used to be supported, or else figure out it on our own.
Thankfully, an open source contributor published a BSP for Zedboard which has been updated to work with the latest PetaLinux tools.
The steps are:
- Get PetaLinux
For this I am following the installation guide published by Xilinx - Get the BSP
wget https://github.com/ubfx/zedboard-bsp/releases/download/2024.2/zedboard-2024.2.bsp - Generate a PetaLinux project from the BSP
petalinux-create project -s zedboard-2024.2.bsp -n zedboard-2024.2 - Build the PetaLinux project, generating the required images
petalinux-build - Create a boot image from the build outputs above
petalinux-package boot --u-boot --fpga --force - Flash the boot image onto an SD card
Following the instructions linked by the GitHub repo
The setup process is pretty easy, you just download the set script from the downloads link in the installation guide, then run it, find out you are missing a bunch of dependencies, then discover there is a list of dependencies in the release notes for that download.
The dependencies were all a series of sudo apt-gets, 95% of which installed smoothly and some had issues which I had to look up in order to get them installed.
One thing to note is you have to source petalinux-install-dir/settings.sh in order to be able to run any of the petalinux CLI commands.
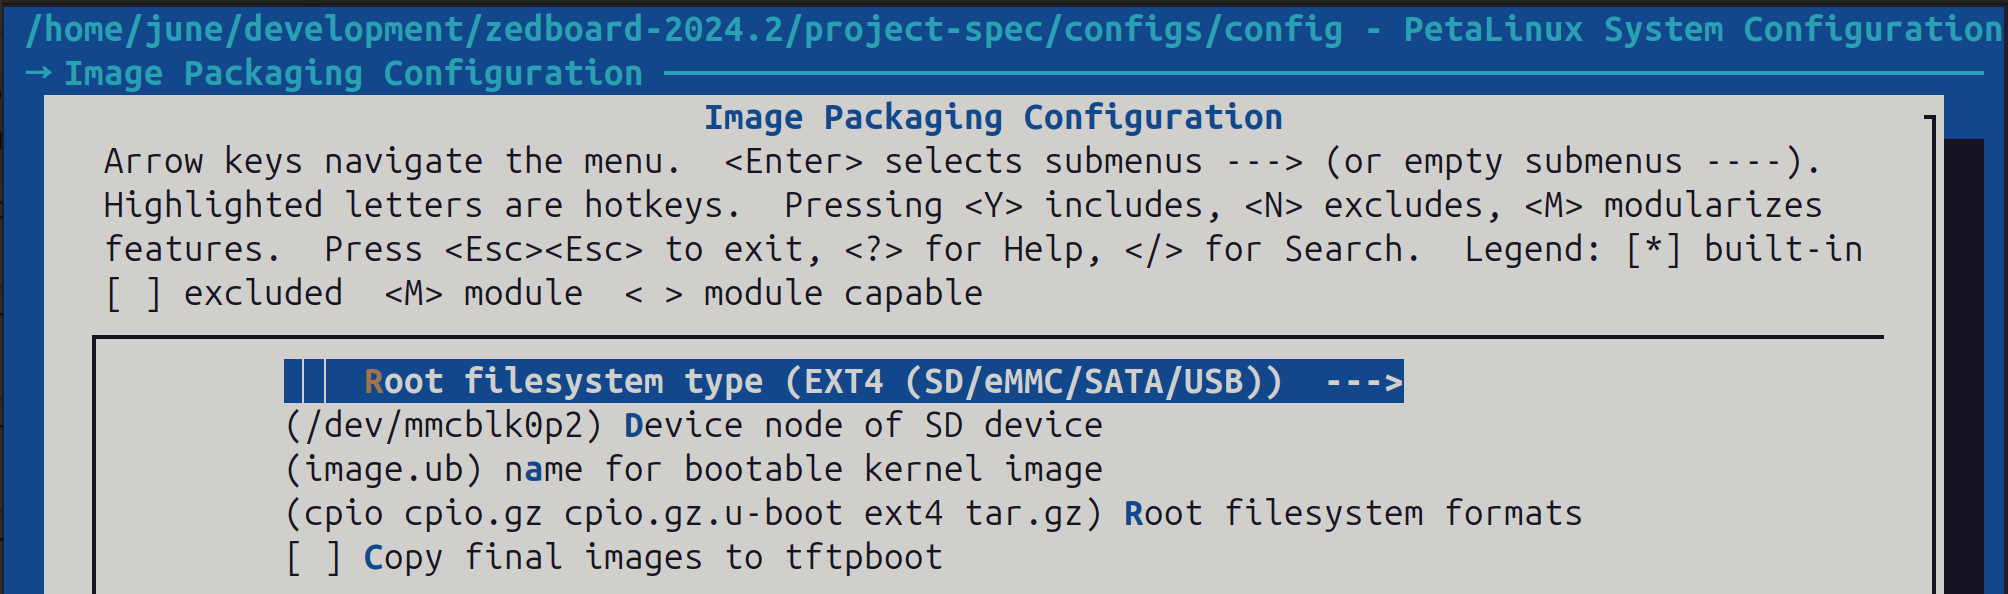
One issue that I found with the BSP provided is that it is initially configured to mount a ramdisk as root filesystem instead of the SD card second partition. To fix this I had to run petalinux-config following step 3 and adjust Image Packaging Configuration > Root filesystem settings:
From here, I’m able to run all the way through step 4, it builds several hundred items, and exactly one fails due to Ubuntu’s AppArmor intervening. I disable intending that I might turn it back on one day should I happen to remember, and then the build succeeds, providing me with outputs in the images directory.
I also removed several arguments originally specified for step 5 by the BSP instructions hich were not relevant to Zynq7000.
Step 4 and 5 leaves us with the following to put onto the SD card.
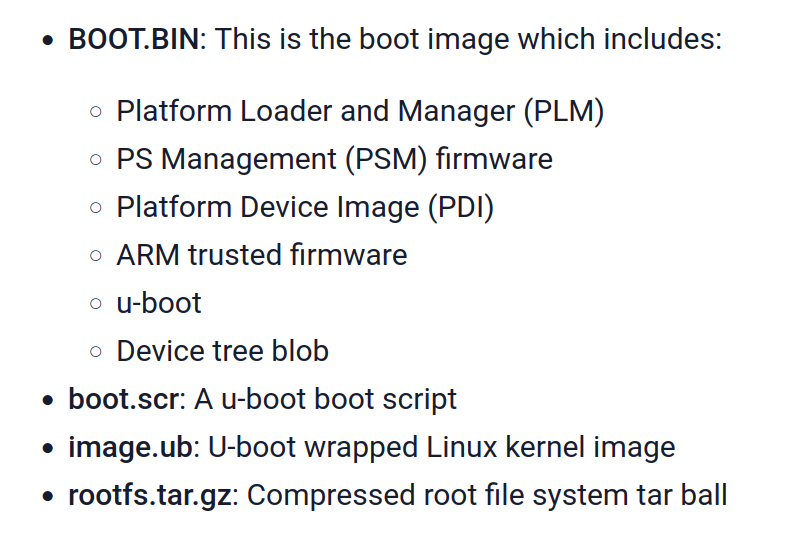
My SD card shows up as /dev/sdb, so I can follow the linked instructions for step 6 exactly. Basically the first 3 files get copied into the boot partition, and then the tarball gets extracted into the filesystem of the second partition.
Formatting leaves me with the following:
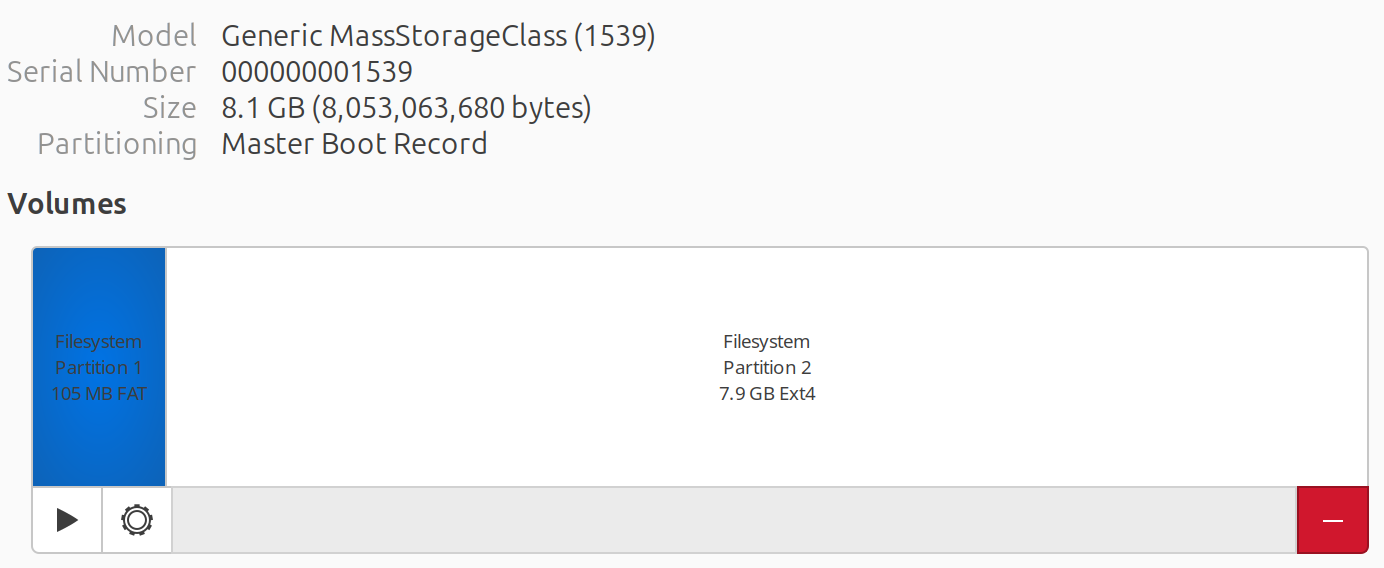
I could just as easily have used Ubuntu’s graphical Disk utility and copied files in Nautilus.
It seemed curious to me that the boot device has a filesystem, rather than a binary and headers or magic numbers located at 0. Apparently for the special case of SD cards, Zynq’s on-chip BootROM checks a FAT32 filesystem for a file named BOOT.BIN.
After modifying the Zedboard jumpers to boot from SD, I am able to see Linux boot and access the terminal via the UART.
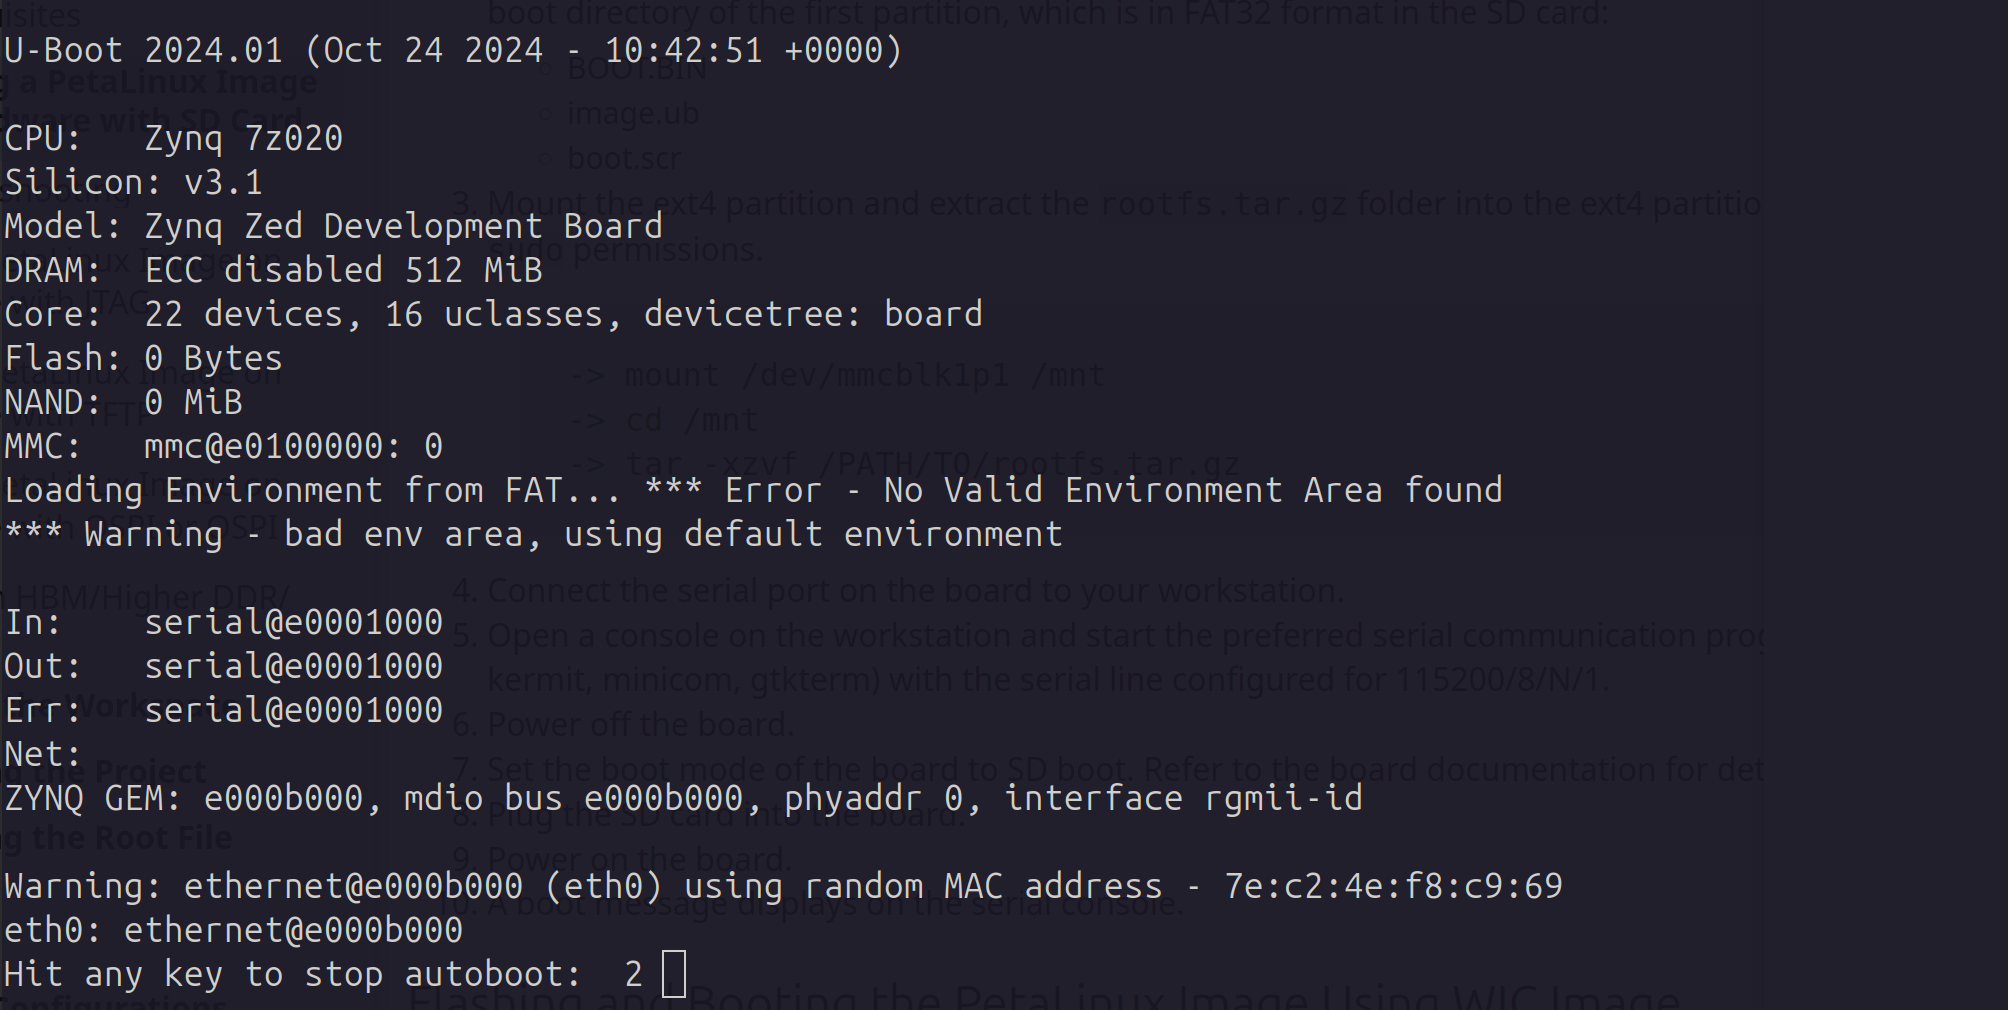
23 seconds later…
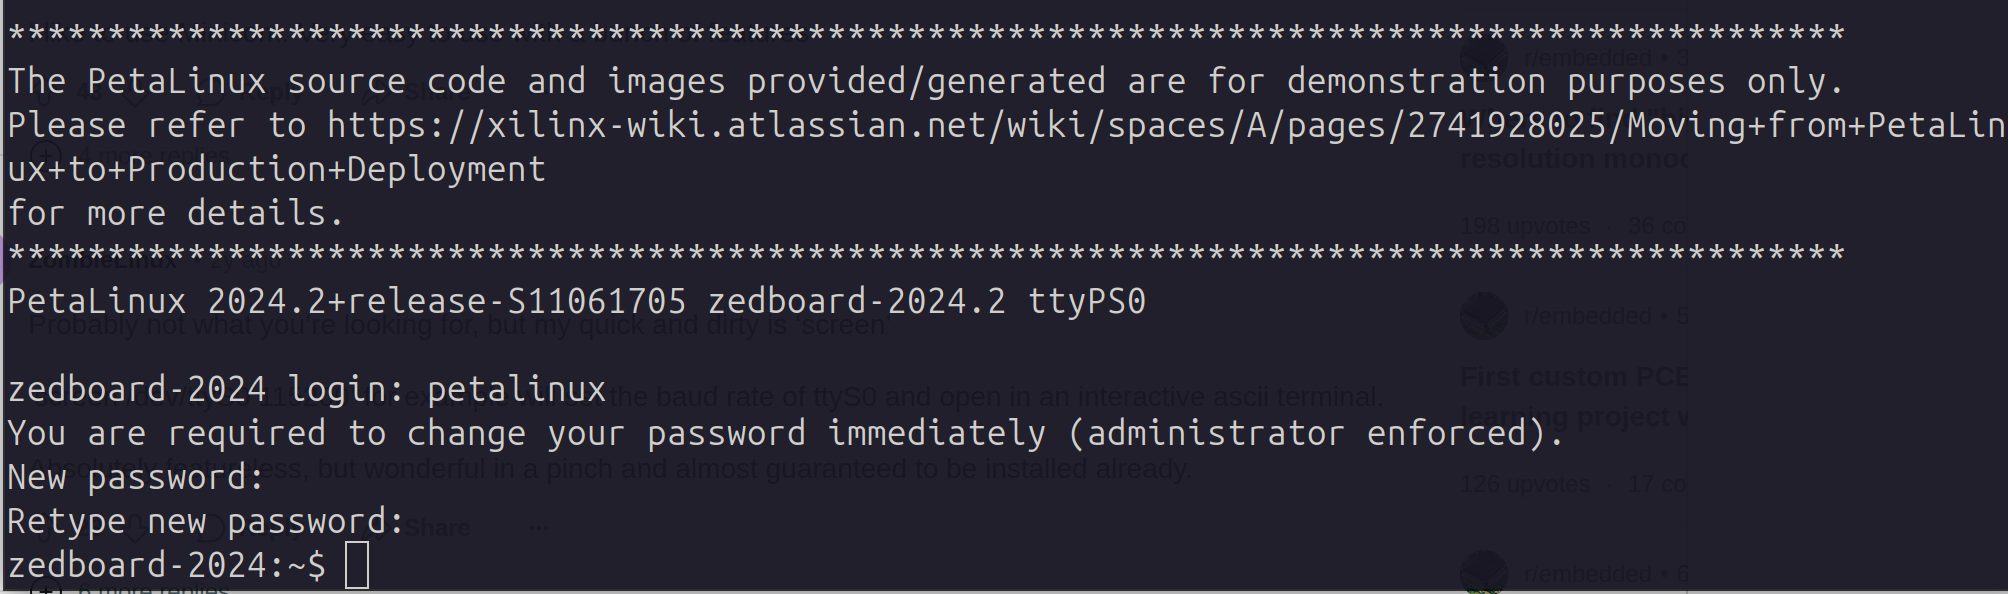
The boot takes far too long!
Leave a Reply